|
Stinson NC6197M Project
This page created December,
1998
Updated
7/2/2013
Click on images for larger
photo.
The restoration of my airplane, Stinson
97M, was a "long term" project that began in 1994. For health reasons, I
decided to sell the project in 2011. For more details on the
restoration, go to the restoration page.
For details on the early history of 97M, go to the history
page.
HIGHLIGHTS AND PROGRESS

September 21, 2011. Today the new owners
picked up the bare fuselage to deliver to its new home in Canada. N6197M will
live again as part of another Stinson 108-3.

February 12, 2011. With the new
year, we have made the decision to discontinue the restoration of the Stinson.
Because of health issues I am facing, I decided not to seek renewal of my third
class medical certificate and will fly as a sport pilot
only. I still have my Aeronca, which meets the Light Sport Aircraft
criteria. I decided to part out the Stinson project. There are many new and overhauled parts that I
am selling on my "Hangar Sale"
page. Check there regularly for parts as they are cataloged, priced, and
listed for sale. Parts are going fast.


December 17, 2010. On a cold and
snowy day, we loaded the Stinson on a U-haul truck for the 180 mile move from
Maryland to Virginia.


November, 2009. The Stinson project
is "on hold" for now. The current focus is on building a house and
hangar
at a grass airstrip in
Virginia near the Chesapeake Bay, a project that began in
2007. Once the new
"Hangar 9" is ready, I will move the Stinson project from Maryland to
Virginia. We are making
progress on the house and hangar now, but work on the Stinson will not resume
until 2010, or 2011, or.....


January 16, 2007. More sheet metal
work in progress. Here I am working on repairs to the top right engine cowl. In
the photo at left, you can see the broken "eye" on the end of the cowl hinge to
the left, where the top cowl meets the nose bowl. I have begun drilling
out the rivets. In the second photo, the old broken hinge has been removed, the
new hinge has been cut to fit, drilled, and clecoed in place. The hinge is
an MS20257P4, which supersedes the original AN251 hinge. Not shown in the
photo is the flange that is inserted between the hinge and the cowl sheet metal.
On the right, the rivet line of the cowl, the hinge, and the flange behind the
hinge have been coated with self etching primer and the assembly has been
riveted together. Once all repairs to the cowl are complete, the assembly
will be etched, treated with a conversion coating, and painted with
an epoxy primer before receiving the Stinson maroon color coats.

January 10, 2006. Work continues on
forward fuselage sheet metal. Here, the belly pans are installed after
having been stripped of paint. Both the aft belly pan and the boot cowl
now have nut plates to receive the screws attaching the landing gear-to-fuselage
fairings. The cooling tunnel side panels are about to be riveted to the
boot cowl. The boot cowl will not be riveted to the firewall until later,
so that the boot cowl can be removed for easy access behind the firewall.


November 9, 2006. Doing a bit of
work on the sheet metal. Shown here is the right gear leg fairing and a
few items fitted to the firewall. Progress slowed a bit during November
and December of 2006 as I took time off to focus on some necessary "home improvements."

September 10, 2006. I've spent the
past few days fussing with the installation of the firewall and firewall pad.
It's fun to see this start to come together. There are many details, and a
puzzle or two to deal with here. I'm not counting how many times I've had
this firewall on and off.

September 6, 2006. Both yokes
installed with new close tolerance bolts at the universal joints, front carpet fitted
and snaps installed, control column cover cleaned, fitted, holes drilled, installed with new
hardware, ready for removal for painting.

September 2, 2006. Here's a night
shot of the instrument panel, essentially complete.


September 1, 2006. Still plugging
away on details. Outside, the rain and wind are blowing as tropical
depression Ernesto hits the Mid-Atlantic. But things are nice and dry in
the shop. Tonight I finished the installation of the shock strut
tower cover. I also trimmed the carpet to over the rear floorboards to
clear the seat pivots and cabin heat vent, then fitted the snaps for the carpet.
Finally, I did a trial fit of the restored seat frames.


August 22, 2006. Working on cabin
details. Floorboards installed - final installation if I'm lucky. Rear side and
back panels installed to see how things are fitting together. Still need to add
carpet trim to lower portion of panels and wool to top edge of rear panel.
Restored flap handle and cable installed. No progress for July and most of
August as I replaced the deck on the house.

May 12, 2006. Trial
fit of the old right-side windshield to see how it fits with the new boot cowl.
This windshield is not as bad as I remember and could probably be re-used with
some polishing of the scratches. But I have new windshields from LP Aero
Plastics so I will use the old as patterns to trim the new.

May 12, 2006. More
sheet metal work. I'm replacing the rivnuts (most were spinning loose) for
attachment of the landing gear fairings with plate nuts. Rivnuts will do
in a pinch, but plate nuts are better.

April 17, 2006. Clecos
make me happy. And so does that new boot cowl. The windshield
retainer still needs some work but is in place to check the fit on the boot
cowl.

April 17, 2006. It's a
sunny spring day and a pleasure to be in the shop. My garage has an overhead
back door that lets in the light and breezes on nice days.

April 14, 2006. In
the photo above
I'm getting ready to "close shop" after an afternoon and evening of working on
the boot cowl. I've cut the slots for the door hinges and worked on the
interface of the right boot cowl, the firewall, and the sides of the cooling
tunnel.
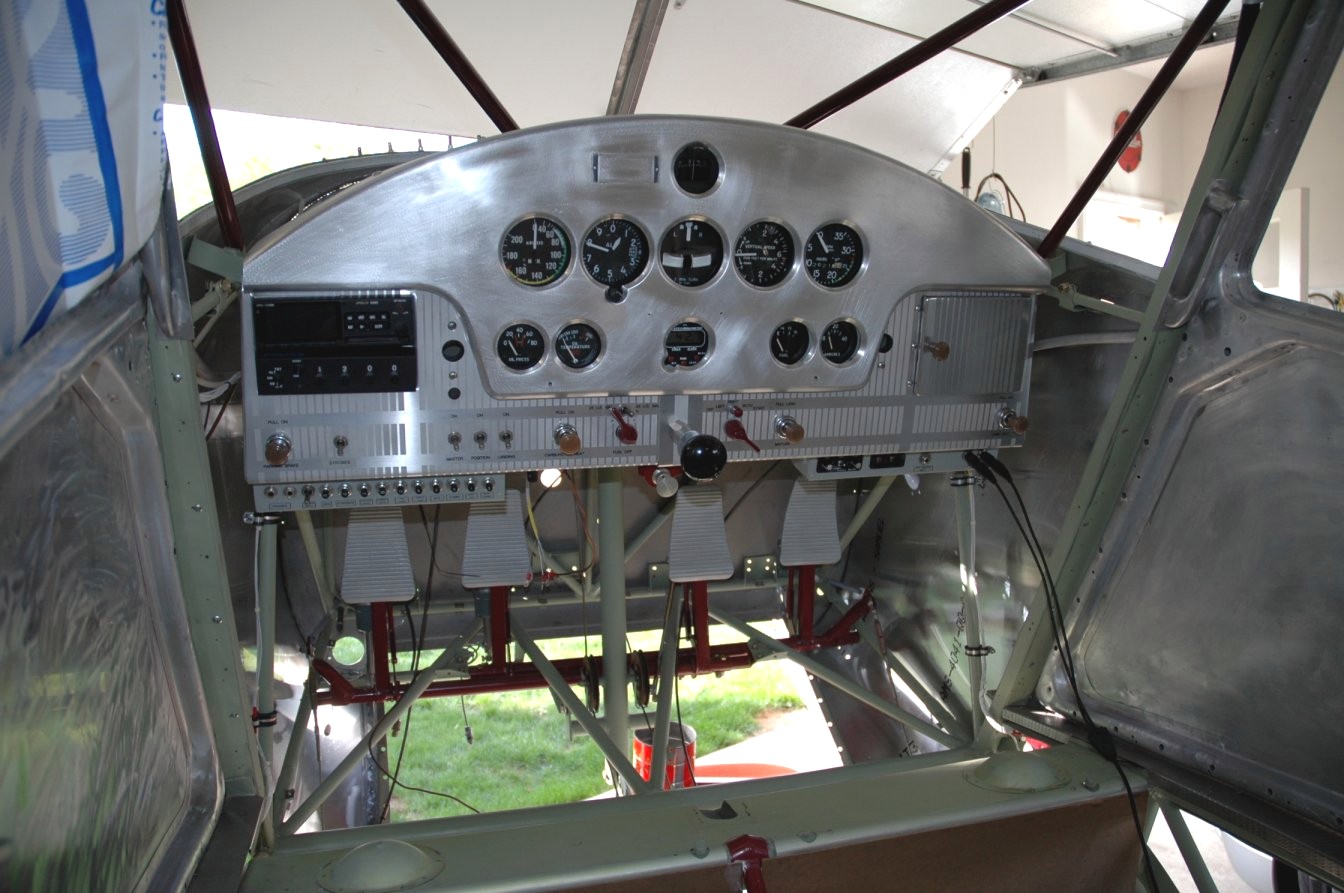


March and April, 2006. More progress
on the electrical system. I completed the intercom system and tested it.
I was pleased to have the intercom functioning at all four stations. My
A&P/AI came to check things over and completed the 337 form for the repair work
on the fuselage. He also gave me some guidance on repairs of the vertical
stab, so I made progress on that, installing a new top rib and replacing skin
sections as needed. I also began work on the boot cowl.


January and February, 2006. I'm making
some serious progress on the electrical system - with wiring of the circuit
breakers, switches, intercom and avionics. Wires everywhere!
I've also installed new fuel lines and a rebuilt fuel valve by Frank Bailey.
Photos below were taken on February 12, 2006. With 15 inches of snow on
the ground, the garage/shop was nice and warm thanks to full insulation and
heat.

October-December 2005. Did some work on my door handles - stripping and polishing.
Other recent or ongoing projects include:
-
Worked
at replacing the missing locks for the handles. Finally found some on
eBay.
-
Stripped, painted and installed the
upper stringer assembly.
-
Installed the fuselage wing root
woodwork. Worked on the puzzle of how everything comes together at the
"leading edge" of the upper fuselage, where the windshield, fresh air vents,
and wing root fairings come together. The old wood there is a mess
and I'm replacing all of the wood with new stuff - mostly-hand made using the
old pieces as patterns. Another recent project was stripping the paint from
the baggage compartment door.
-
Stripping the paint off the doors -
inside and out. The inside is an awful mess where paint, several types
of glue, and the remnants of old insulation have created a hardened, crusty
layer of crud!
-
Installing new baggage compartment
straps- using nylon webbing and buckles used by backpackers.
-
Repairing broken and/or corroded
webbing on the seat frames. Decided to have the frames and the rear seat
support tube powder coated.
-
Modification of the circuit breaker
sub-panel to incorporate a breaker for Whelan anti-collision lights.

October-November 2004. Well, after a four year layoff
following the purchase of my Aeronca
Chief in 1999, I got back to work on the Stinson. Though I had rebuilt
my shock struts earlier with new quad seals, they were still seeping a little due to
some roughness on the strut shafts. So I decided to have the shafts
hard-chromed to bring them back to specs. I picked the finished pieces up
just before Halloween and completed the assembly and installation on November 1,
2004. It's nice to have the fuselage back on the gear.
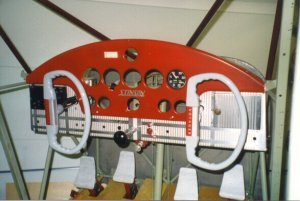
December 1998. I spent the
winter playing with the instrument panels and
the circuit breaker subpanels. 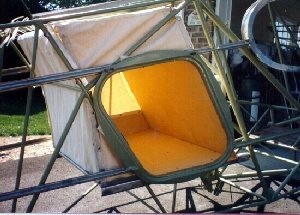 October 1997. New baggage
compartment built from birch ply, 5mm for floor, 3mm for forward bulkhead.
Canvas compartment is from Airtex. My woodwork
page has more info on the baggage compartment and other woodwork.
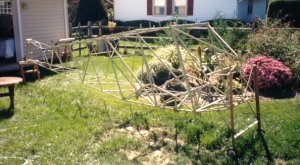
September 1997. The fuselage
is now ready for reassembly. The frame has been sandblasted, more than
20 feet of tubing replaced, and the entire assembly has been painted with
epoxy primer. My fuselage tubing page
has more photos and details.
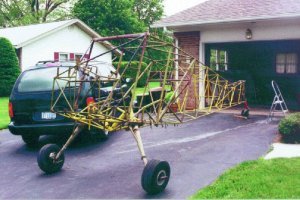
May 19, 1994. Only the landing
gear is left to remove.
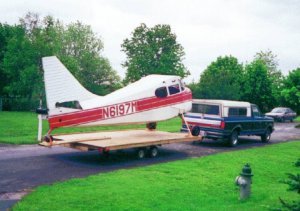 This first photo was taken
in the spring of 1994 after bringing the project home.
Note the twenty foot fuselage
on a sixteen foot trailer.
Back to the Hangar
9 Aeroworks Main Page
|
